一、简介
JSON-Server 是一个 Node 模块,运行 Express 服务器,可以指定一个 json 文件作为 api 的数据源,可以非常快的创建一个 REST API。
二、Install Json Server
使用 yarn add 全局安装一下 json-server,推荐全局安装,不建议安装到当前项目
yarn add json-server -g
- 1

三、创建 JSON 数据
3.1 db.json
创建一个项目文件夹(json_server_frst),在项目根目录下创建 db.json 的数据文件,内容如下
{
  "posts": [
    { "id": 1, "title": "json-server", "author": "typicode" }
  ],
  "comments": [
    { "id": 1, "body": "some comment", "postId": 1 }
  ],
  "profile": { "name": "typicode" }
}
- 1
- 2
- 3
- 4
- 5
- 6
- 7
- 8
- 9
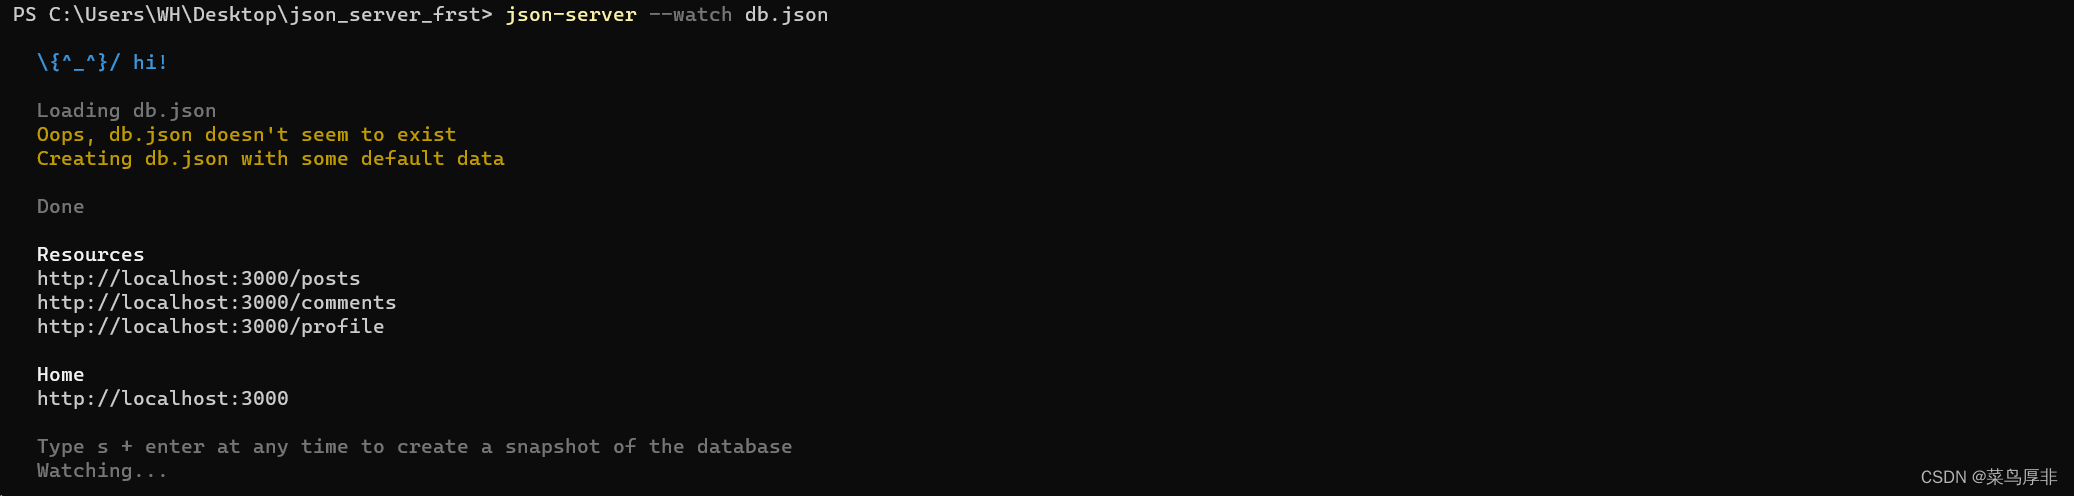
3.2 启动 Json Server
使用下面命令,启动 json-server,也可以使用参数 --port xxxx 指定端口运行
json-server --watch db.json
- 1
四、访问 API
通过不同的 http method 访问 api 会产生不同的行为,get 获取、delete 删除、post 添加、put 修改 等
4.1 HTTP Get


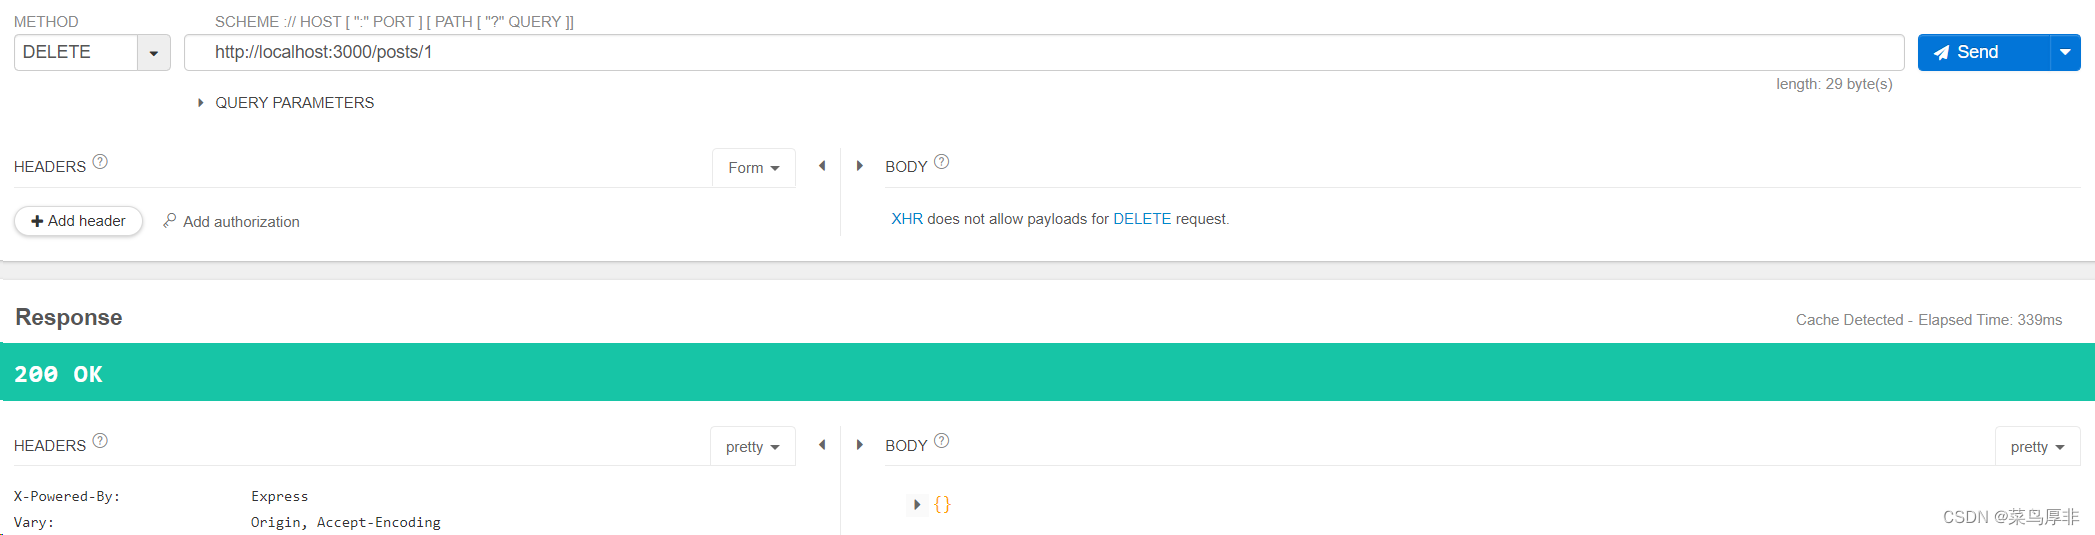
4.2 HTTP Delete

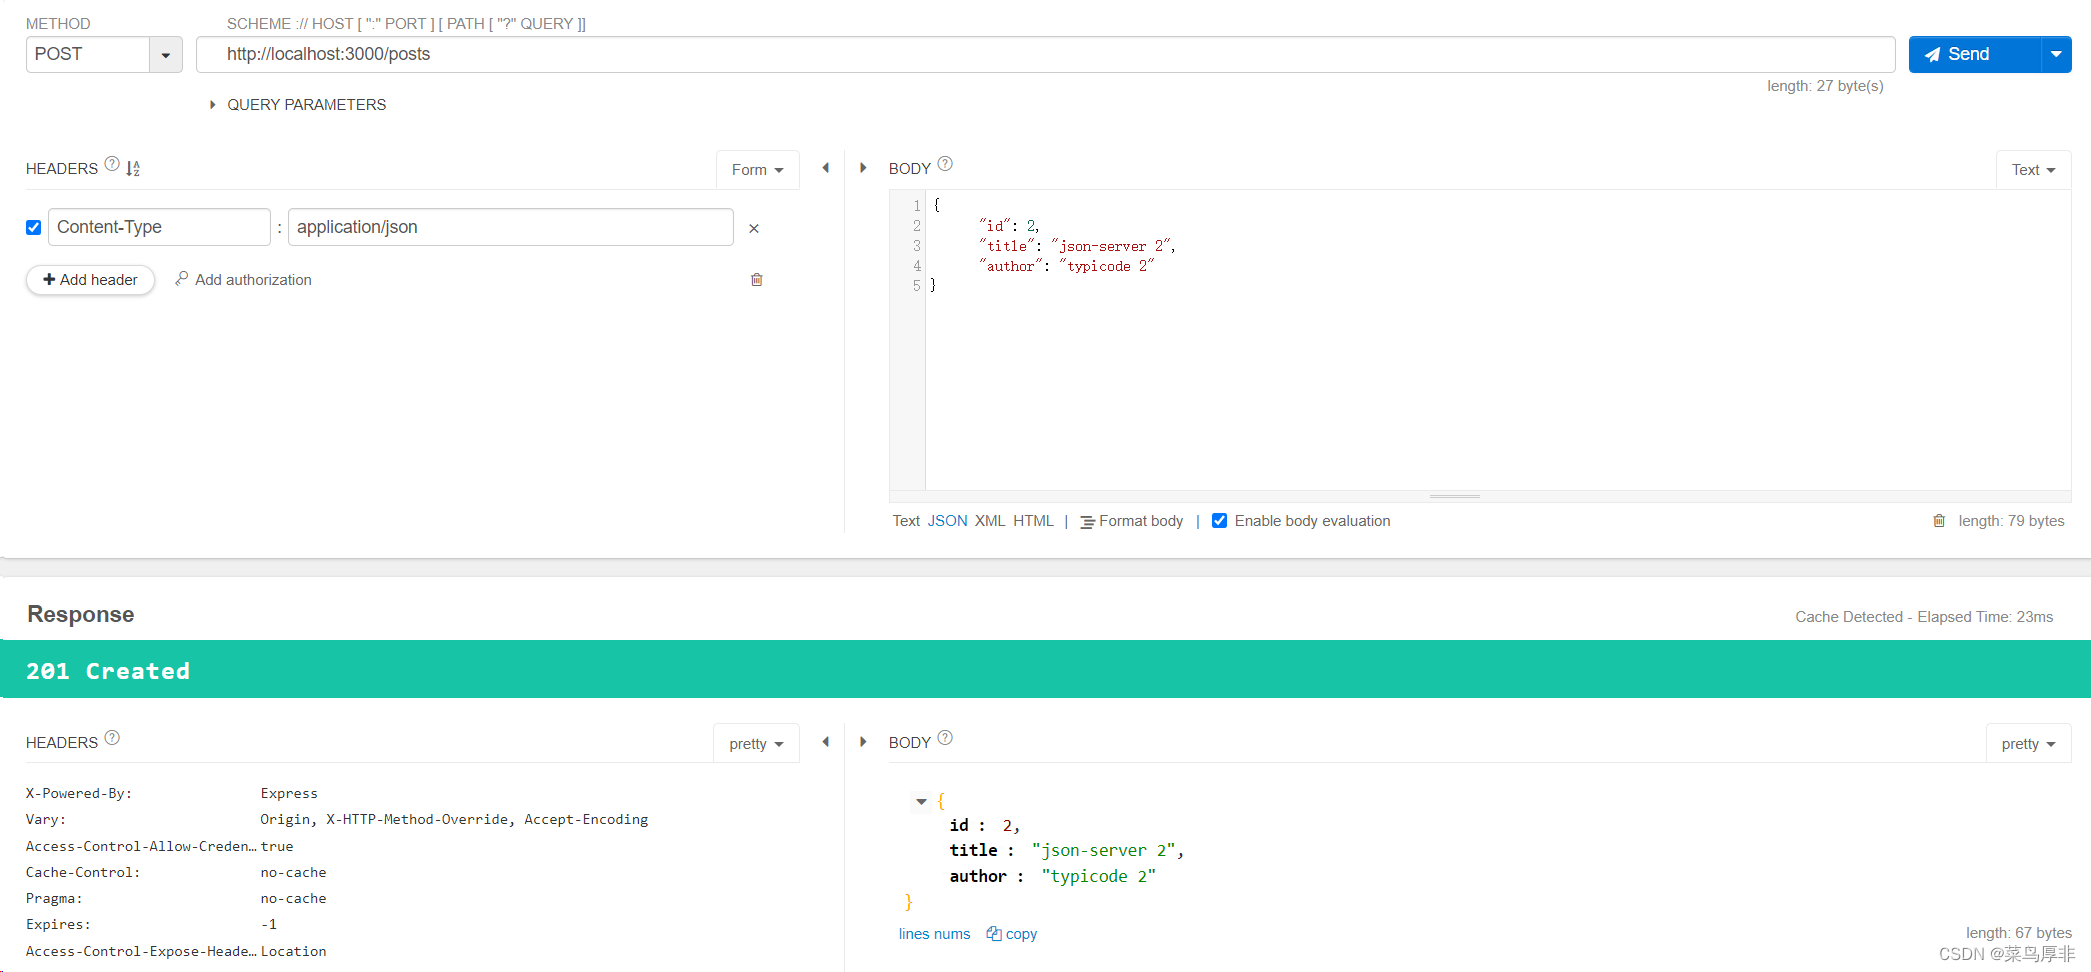
4.3 HTTP Post

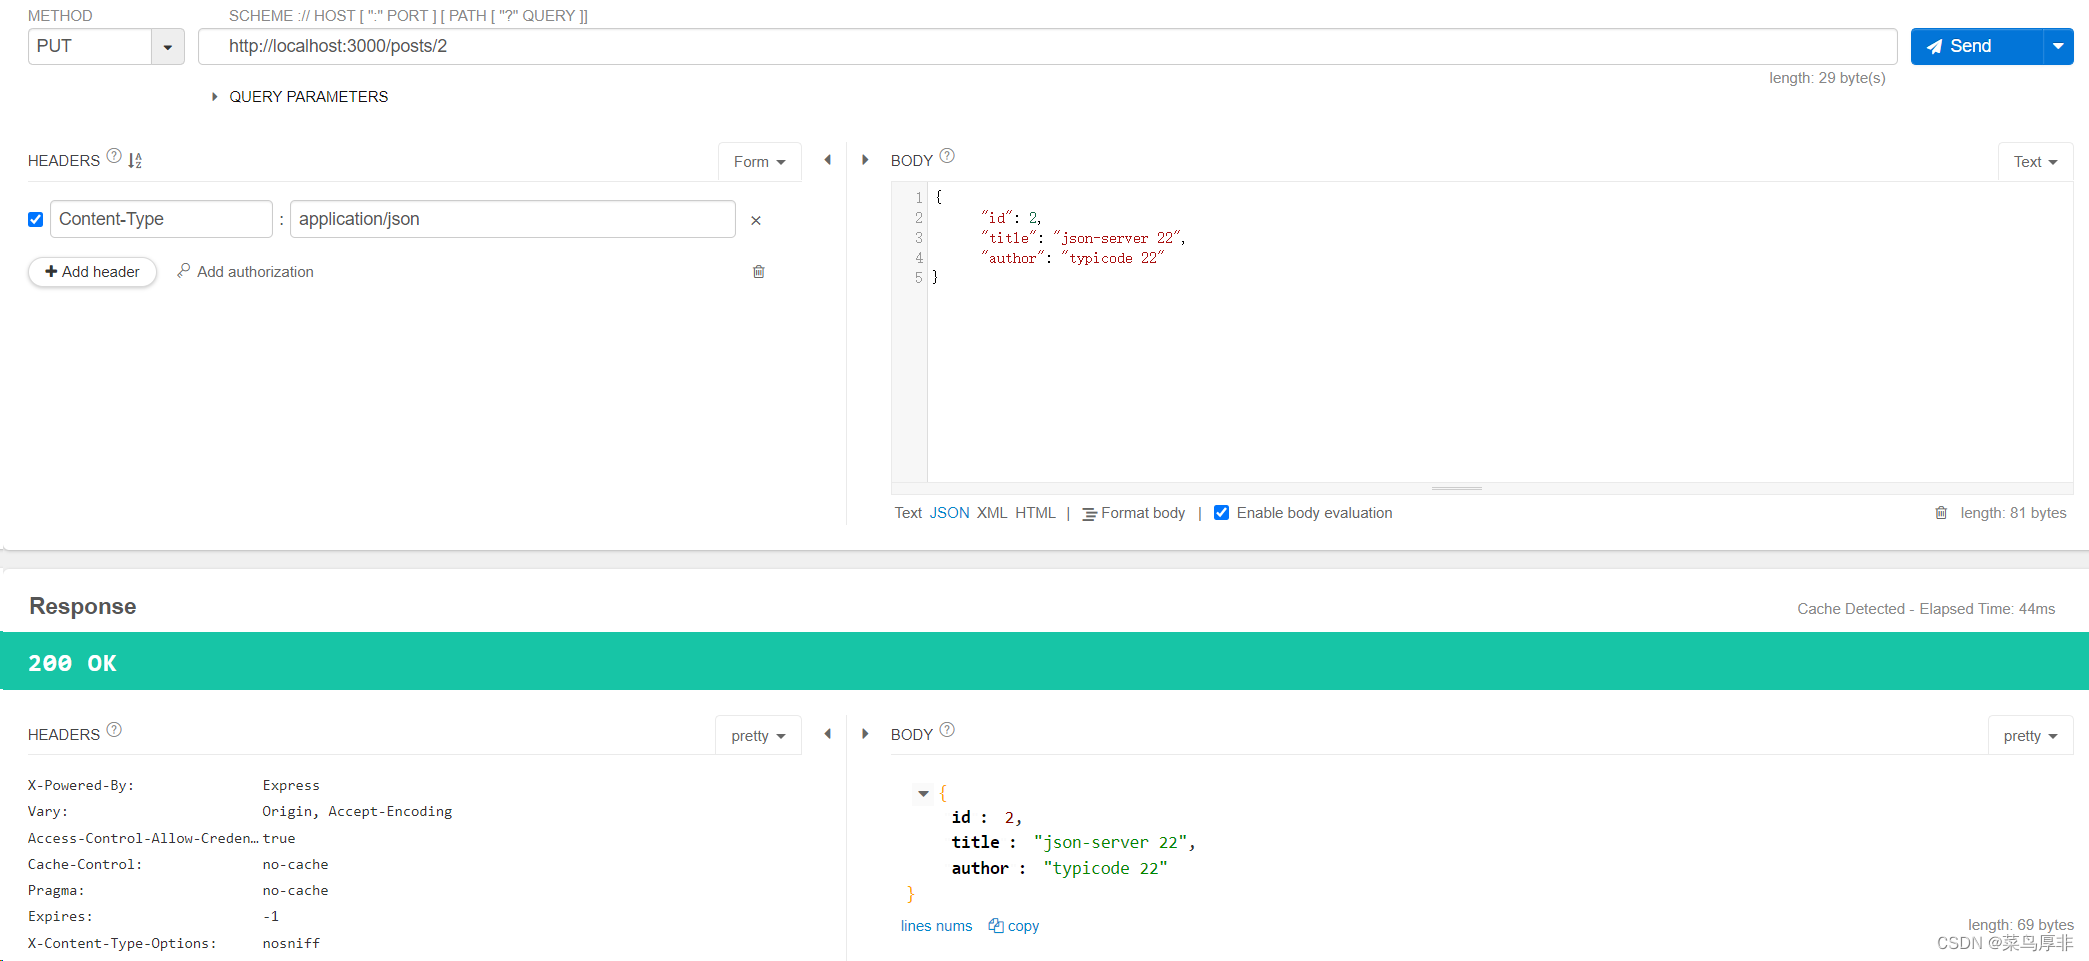
4.4 HTTP Put

五、部署 Docker
5.1 Dockerfile
在项目根目录下创建 Dockerfile 文件,内容如下:
FROM node:alpine
COPY db.json /opt/db.json
RUN npm install -g json-server
ENTRYPOINT ["json-server", "--port", "3000", "--host", "0.0.0.0"]
CMD ["/opt/db.json"]
- 1
- 2
- 3
- 4
- 5

5.2 构建镜像
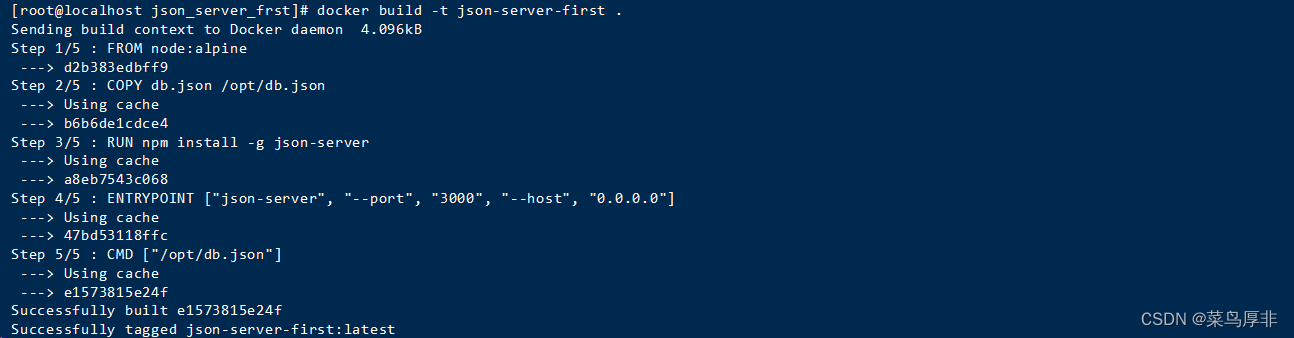
将 Dockerfile 、db.json 上传到服务器,然后使用 docker build 构建镜像。如下:

docker build -t json-server-first .
- 1
5.3 启动容器
使用下面命令启动一个容器,注意将容器内的 db.json 与 宿主机外的 json 文件进行映射(可将项目内的db.json 内容拷贝一份),将数据持久化。如下:
docker run -d -p 3000:3000 -v /home/user/articles.json:/opt/db.json json-server-first
- 1

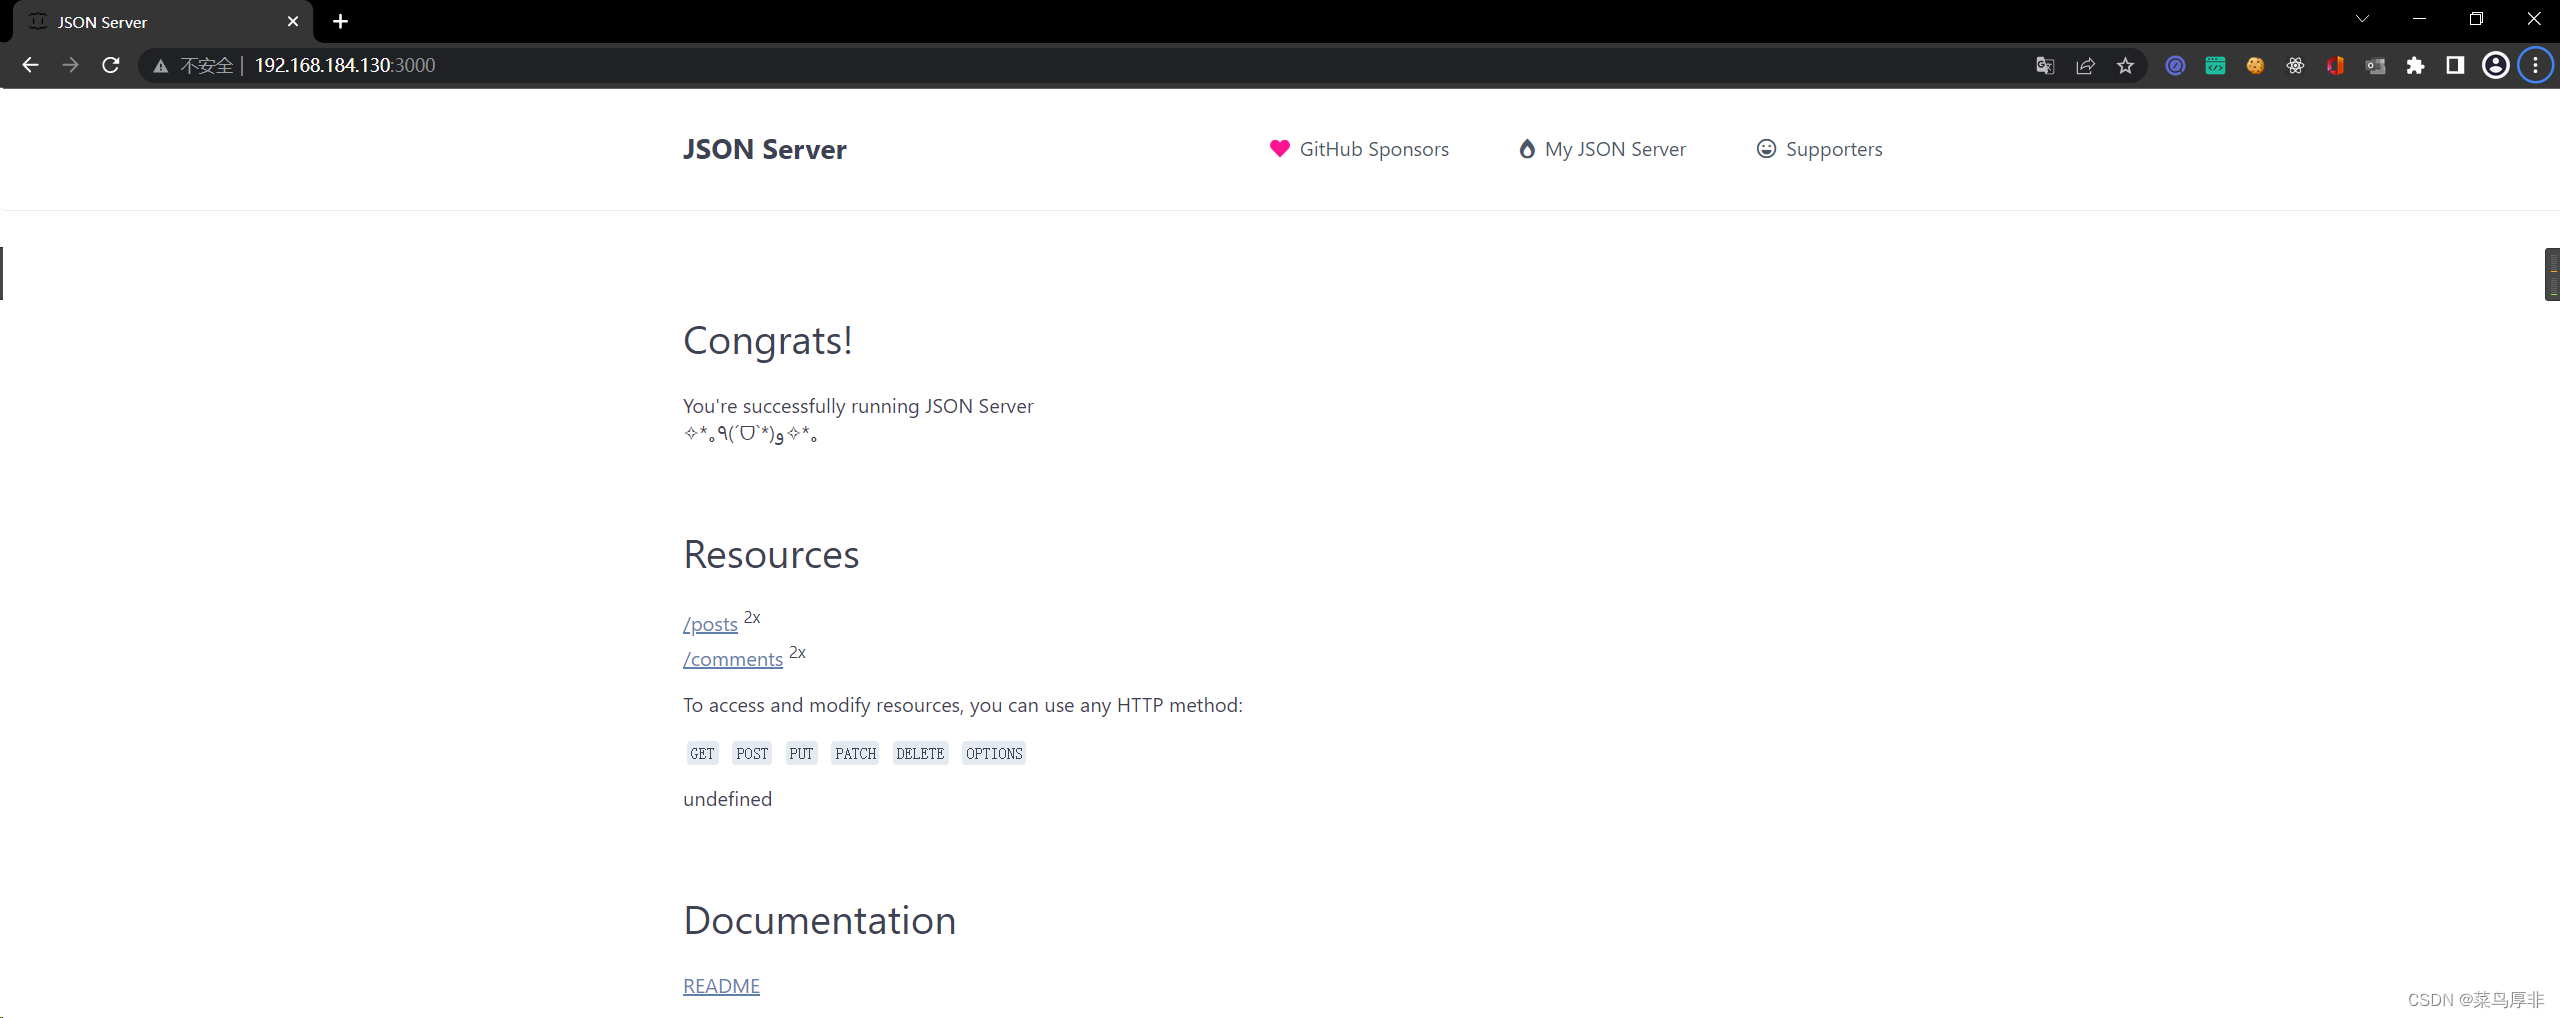
5.4 访问 JSON Server
浏览器输入 http://192.168.184.130:3000/ 即可看到 JSON Server